Add photos
Add and edit items to a board /Add photosAdd photos from your library, files, or camera to create vision boards and visual projects.
Add images from your photo library or the Files app, or capture new ones with your camera. Photos are great for vision boards, mood boards, and visual brainstorming.
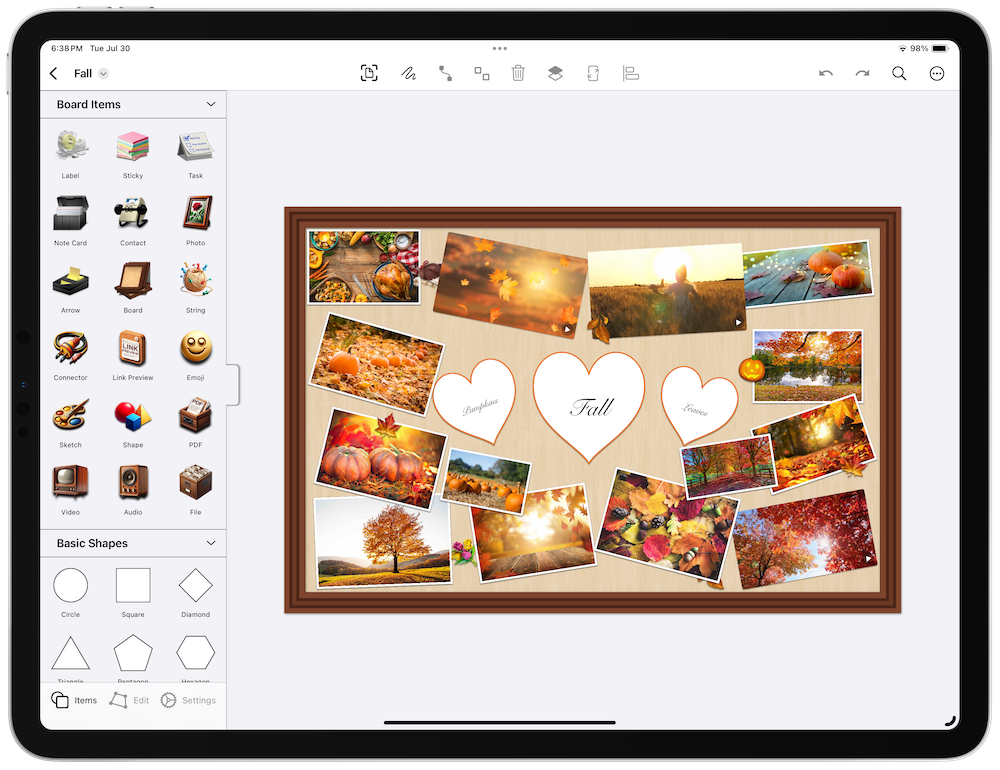
Add a Photo
Open the shelf: on iPadOS and macOS it’s on the left side of the screen; on iPhone it slides up from the bottom.
- Add a Photo Item: Tap the photo item in the shelf to add it to the board.
- Choose a Source: Select Photo Library, Files, or Camera. You can also select multiple photos.
Selecting Multiple Photos
When adding photos, you can select multiple images at once:
- Mac: Hold Command and click to select multiple photos.
- iPad/iPhone: Tap each photo you want to add.
Tips
- View and Mark Up Photos: Double-tap a photo to open Quick Look, where you can share and mark up the photo. Markups are saved into the photo on the canvas.
- PNG Transparency: PNGs with transparency do not add a border automatically.
- Remove Photo Borders: Use the board settings to toggle photo borders.
- Adjust Photo Quality: Use the board settings to change photo quality. Higher quality increases file size.
- Create Similar Items: Press
Shift-Command-Nto quickly create a similar item. - Connect Items: On iPad and Mac, enable connector mode (the link button in the overlay controls), select an item, then drag from the arrow handles that appear. Or select two items and tap the pin button in the toolbar. See Organize items with lines for details.
- Drag and Drop or Paste Photos: Add photos by dragging and dropping or pasting them. Learn more about drag and drop on iPadOS from Apple Support.
- Automate: Use shortcuts to automate adding photos to boards.
Next > Add arrows
